


 |
| © dphotografic.com |
 |
| ORIGINAL IMAGE © dphotografic.com |
 |
| EDITED IMAGE © dphotografic.com |
 |
| © dphotografic.com |
 |
| ORIGINAL IMAGE © dphotografic.com |
 |
| EDITED IMAGE © dphotografic.com |
 |
| © dphotografic.com |
 |
| This is the original photograph. |
 |
| This is the deep-etched result. A customised selection has been create and saved so that the product can be selected and dragged onto another photoshop file at any time. |
 |
| © dphotografic.com |
 |
| © dphotografic.com |
 |
| © dphotografic.com |
 |
| ORIGINAL IMAGE © dphotografic.com |
 |
| EDITED IMAGE © dphotografic.com |
 |
| ORIGINAL IMAGE © dphotografic.com |
 |
| EDITED IMAGE © dphotografic.com |
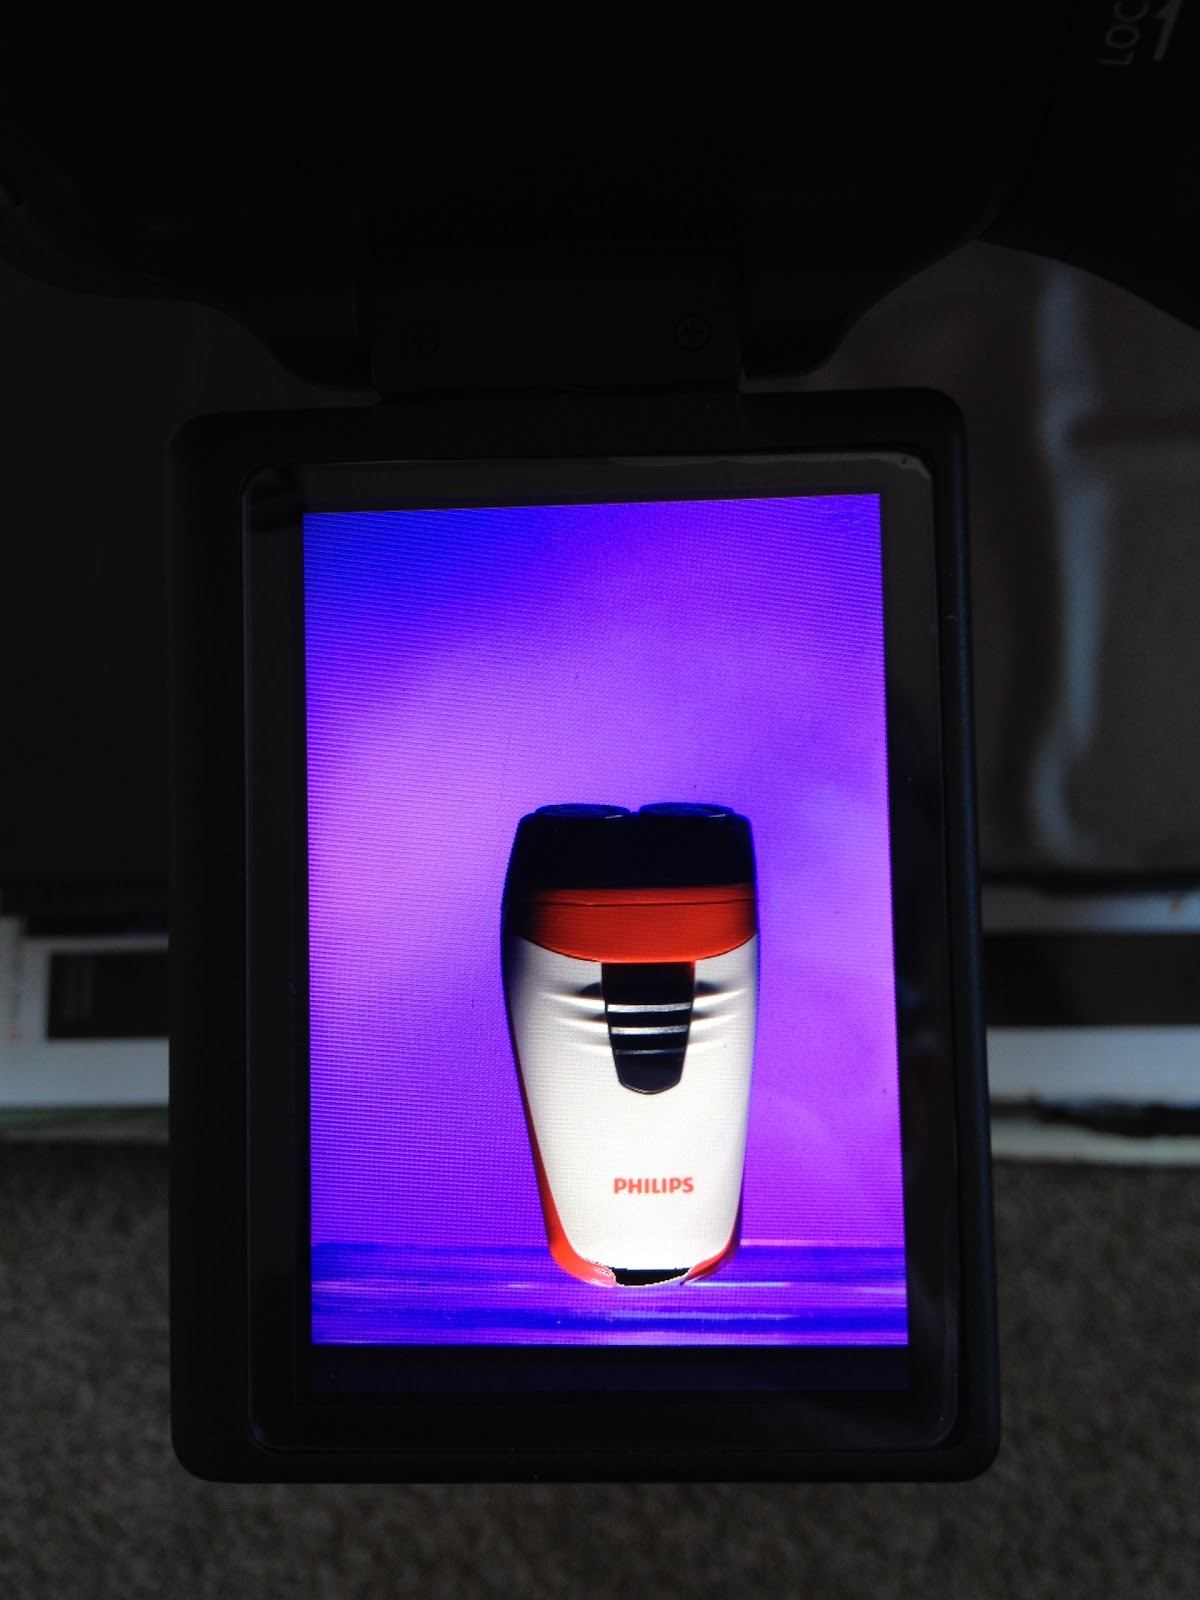 |
| The result of my test-shot. I now need to build up some lighting on the product and get it looking right so the product stands out from the background. |
 |
| My very simple (hostile) setup on the floor. I will now set this up properly in order to create the final series of photographs for this assignment. The folder i am holding sits over the speedlite (to the left of my hand) in order to stop any light reflecting off the glass brick and up into the lens. |
 |
| Same as above, but from behind the camera instead of a side-on view. (obviously) |


 | |
| The sort of effect i hope will result from combining the glass brick, a blue gel and some back lighting. WILL LOOK GOOD IF IT WORKS :] |
 | ||
| The glass brick i have on-lend from CIT to experiment with for this assignment. |

 |
| The sort of bearded look my subject has. |
 |
| © dphotografic.com |

 |
| Interaction between the hand and face seems like a commonly used aspect of the ads i researched and is something to consider. |
 |
| The use of a my model's reflection in a mirror may be a creative angle to consider. |


 |
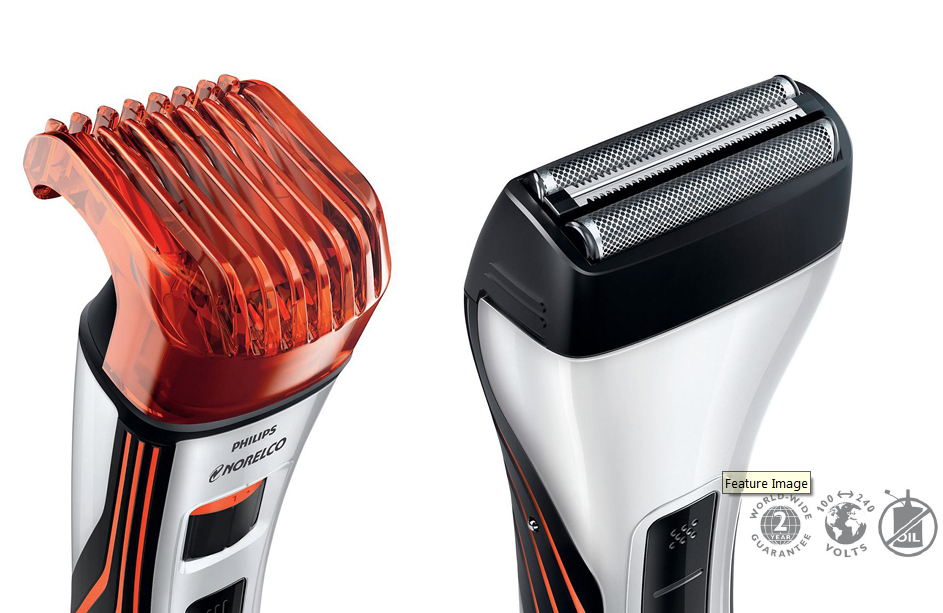
| A details shot or two, may proove useful in some way. |


 |
| The use of water was a consideration, but if i choose to include this somehow i will MUST be very careful, because i had to outlay a lot of money to get these products and intend on returning them once i've finished photographing them in order to get a FULL refund of the purchased price. |
 |
| Having the product in horizontal alignment doesn't seem to be a popular way to photograph a product like this, let along most products. So do not feel i will try revolutionize this angle :] |


 |
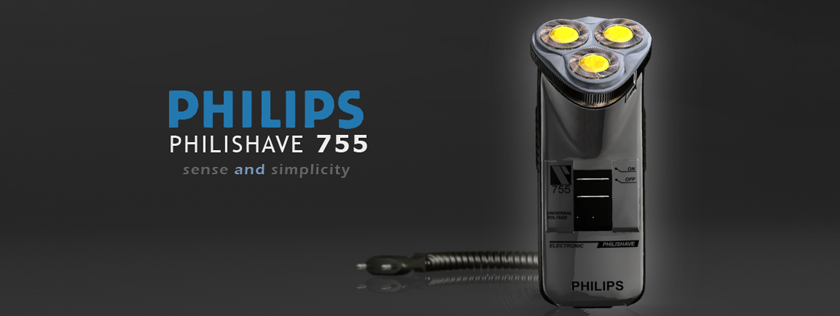
| The addition of coloured lighting behind the product is a definate consideration. The common colours are very manly. Blues, silvers and stylish greys through to almost straight black seem to be what is used the most. |
 |
| A square-on view example, with what looks like split-lighting from a single soft-box and perhaps an amount of bounced reflection. |


 |
| NICE ! |


 |
| A details shot or two, may proove useful in some way. |


 |
| A details shot or two, may proove useful in some way. |

 |
| A details shot or two, may proove useful in some way. |


